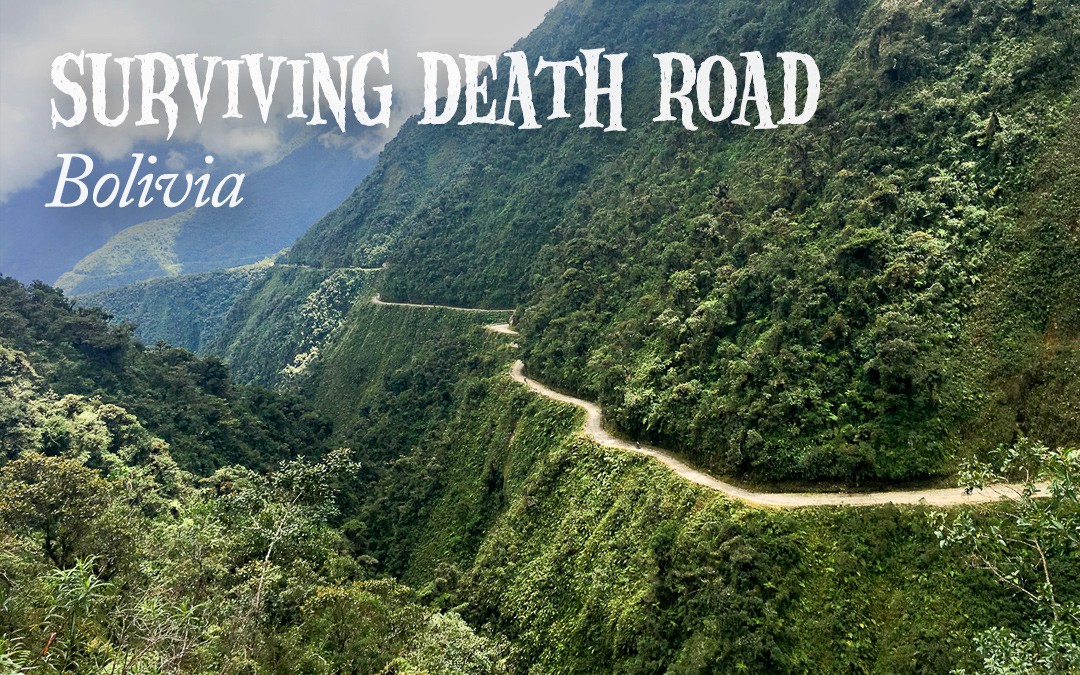
The Death Road is one ‘tourist attraction’ we really wanted to experience when visiting La Paz, Bolivia. Although kind of crazy and a tad scary, nerves aside we were going to get to the bottom of Death Road. In case you’re wondering about the name, the road is officially known as North Yungus Road but who wants to say “I survived North Yungus Road”! It doesn’t sound near as cool.
History of the Death Road
The road was constructed in the 1930’s when Bolivia and Paraguay were at war. The road was built by the bare hands of 1000’s of Paraguayan prisoners of war. Sadly, every single prisoner that created this road died, whether it be from a natural cause or an accident. Those who didn’t die from these causes were often pushed off for disobeying instructions. This is where the Death Road name originated but it got set in stone over the years as more perished.
The Road Today
Bolivian natives are still forced to use the road as a crucial transport route, with local road rules specifying that the downhill driver never has the right of way and must move to the outer edge of the road with a sheer cliff face along side them, this also applies for us cyclists, riding on the left side of the road.
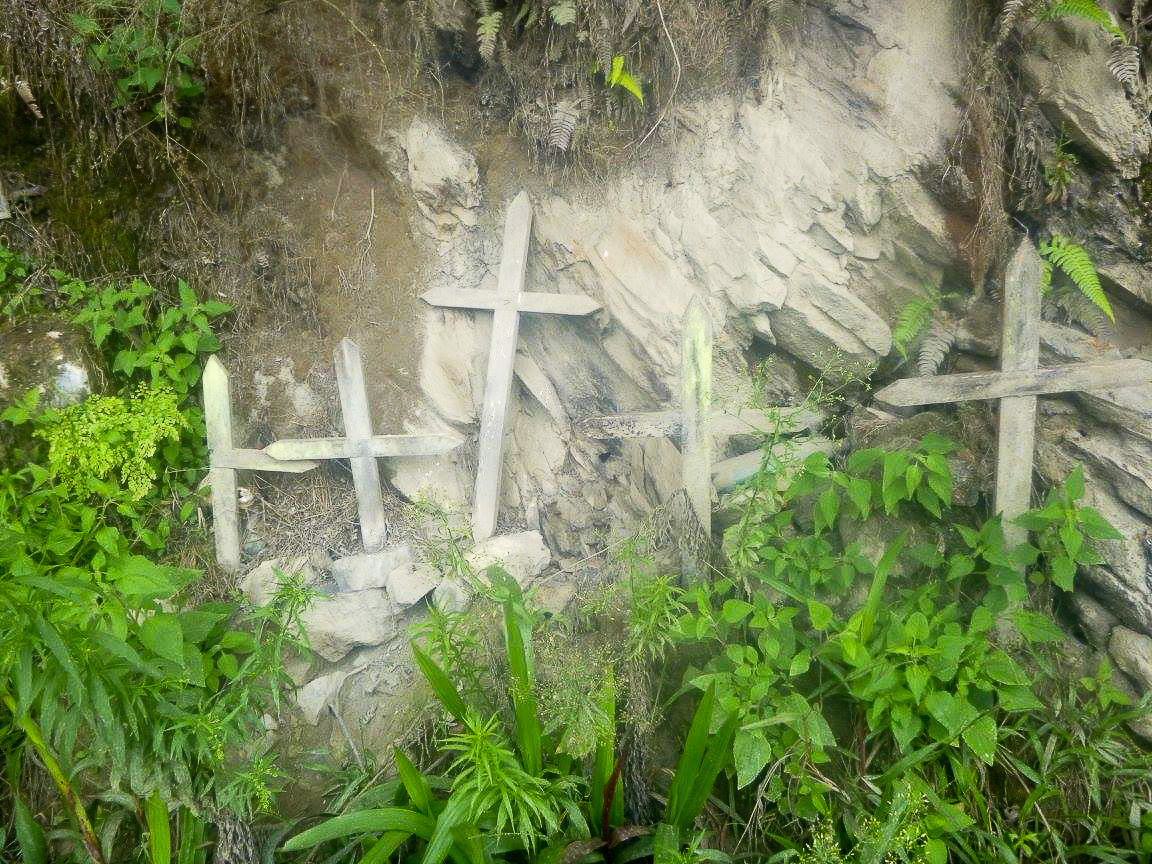
In 2006, it was estimated that approximately 300 people were killed yearly along the road. Buses, cyclists and cars. During the ride we often saw shrines & cross markings on many of the spots where lives have been lost.
However, these days, due to a new paved road that has been built around the valley, the Death Road is far less busy than it used to be, therefore the above statistic is far less these days, thankfully!
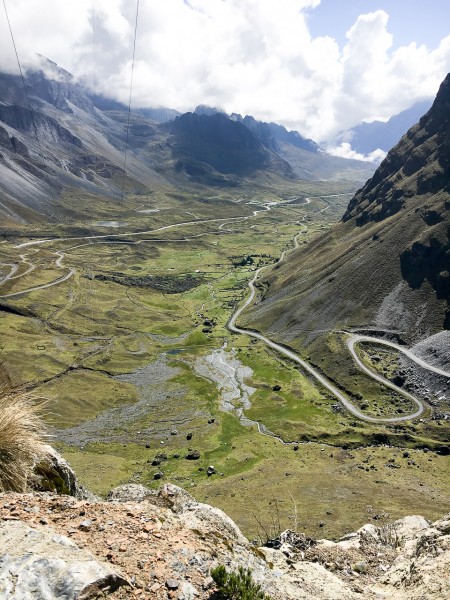
The new road being built means less cars/buses to fight with on the road therefore ‘safer’ rides for the bikers, but it also means less business for the valley below. Why? Back in the day, the village was a busy stop for all the cars and trucks passing through but due to the new road and less traffic, the village now sole relies heavily on tourism from the bike companies.
The Ride
The Death Road became popular in the 1990’s bringing approximately 25,000 riders a year. There are numerous companies that run tours out of La Paz but choose wisely. You don’t need your breaks failing mid-corner or guides that don’t know the ins and outs of the road.
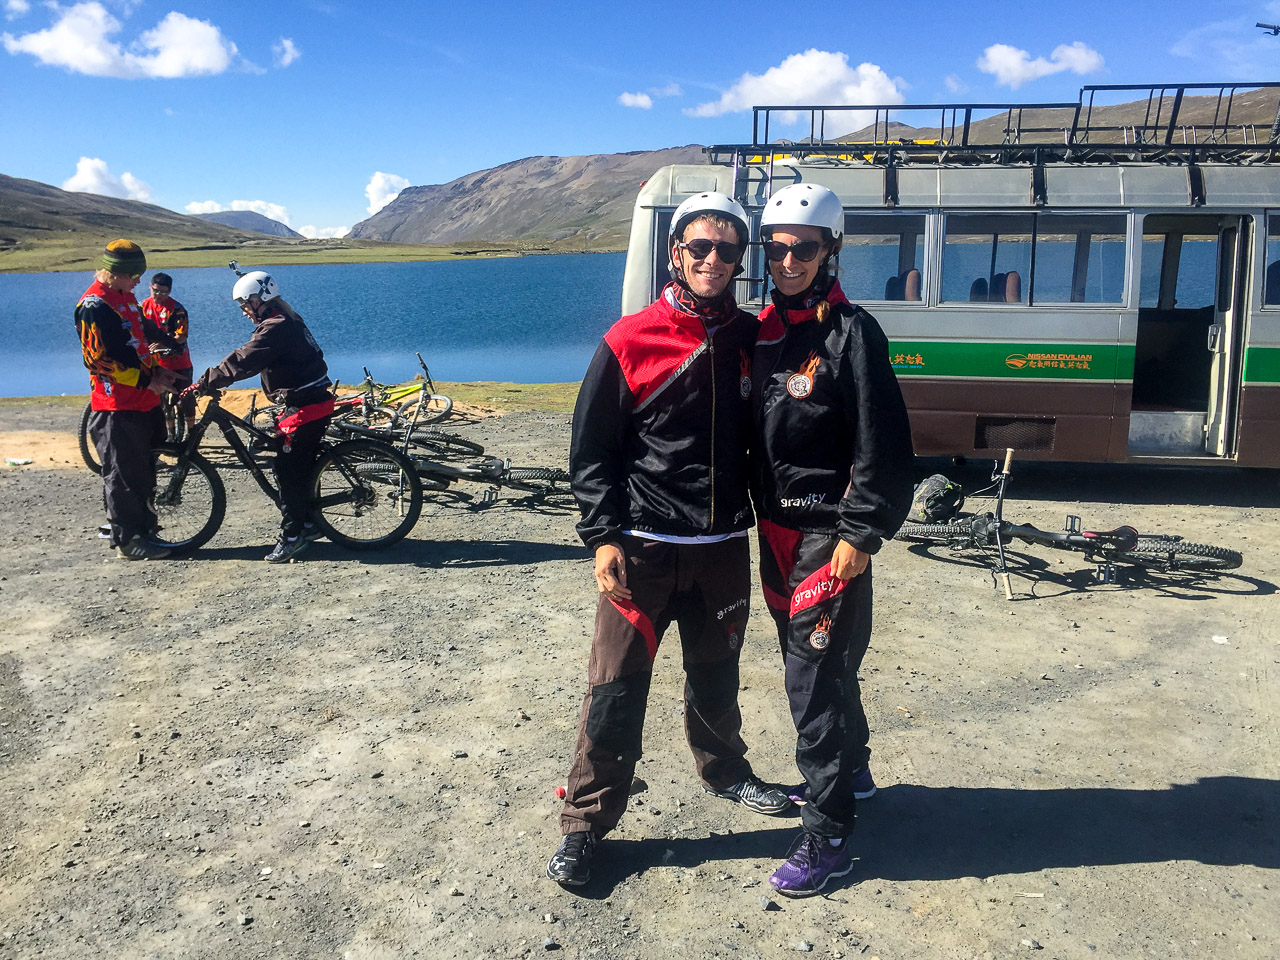
We went with the most reputable company, even if it was the most expensive (USD$110pp). Your life is worth all the money in the world, and things like this aren’t worth saving a few bucks. Gravity Bolivia really knew their stuff, their bikes were legit, the equipment was sturdy and the instructions were very thorough. We had a really fun group to ride with which always makes a tour that little bit more enjoyable.
We were picked up at 7:30am to begin the drive. Inside the van, our tour leader went over all the ins and outs of the road, the do’s and don’t & the rules with a few scary stories!
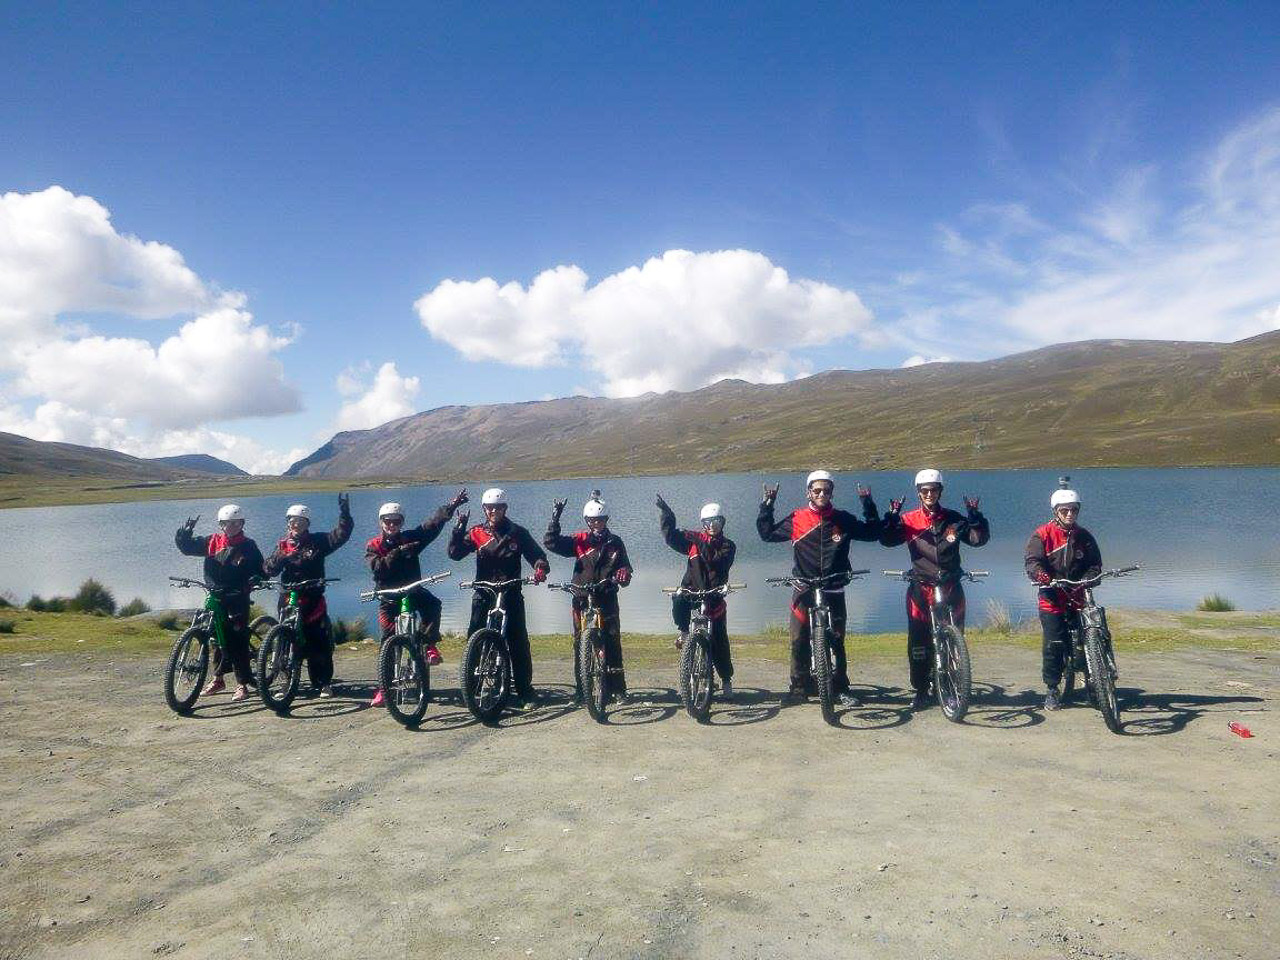
Once we reached the highest point by bus to La Cumbre (4,760 m) we were given our bikes, helmets, gloves and stylish pants/jacket. Each bike was fitted to our size and our preferred break i.e. left or right front brake. It was cold at the top of the mountain but by the bottom, all of the heavy layers had been removed.
Once we had our bikes fitted we had to ride around the parking lot to practice and get a feel for the high-end mountain bike before heading off to conquer the road. It didn’t help we were over 4500m above sea level so the air was as thin as anything.
The 1st part of the road was easy, considering it was completely paved and all downhill. We flew down the hill, getting a feel for the bikes and following each other in single file. A guide rode behind and another in front to make sure everyone was under control.

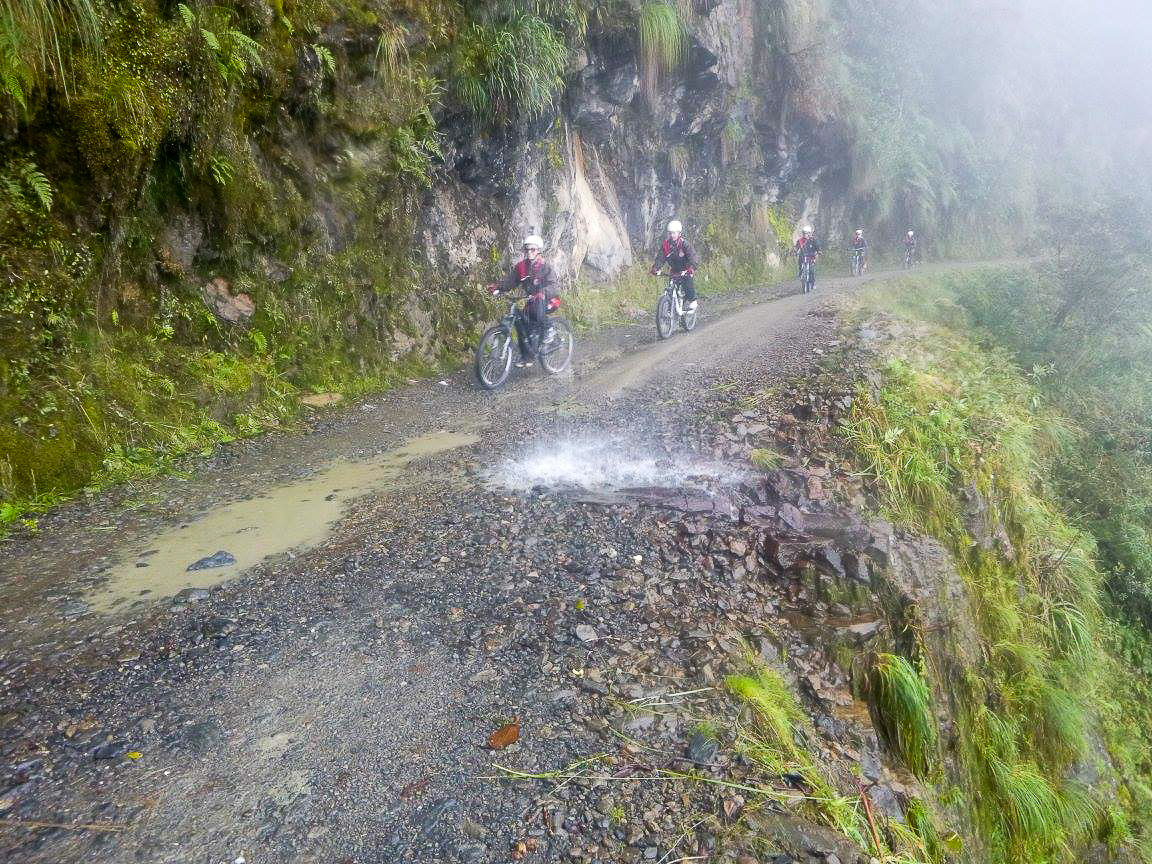
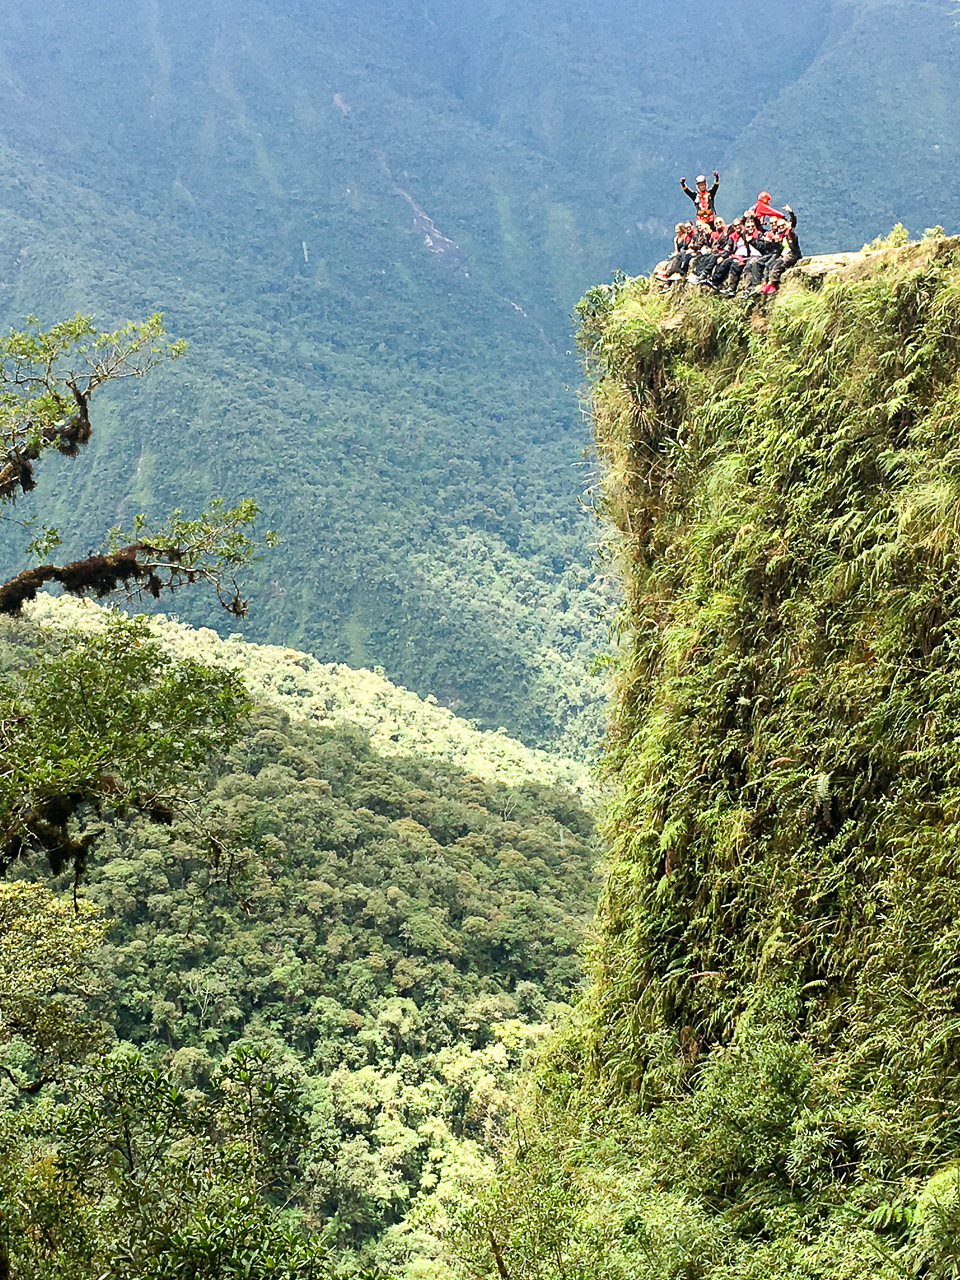
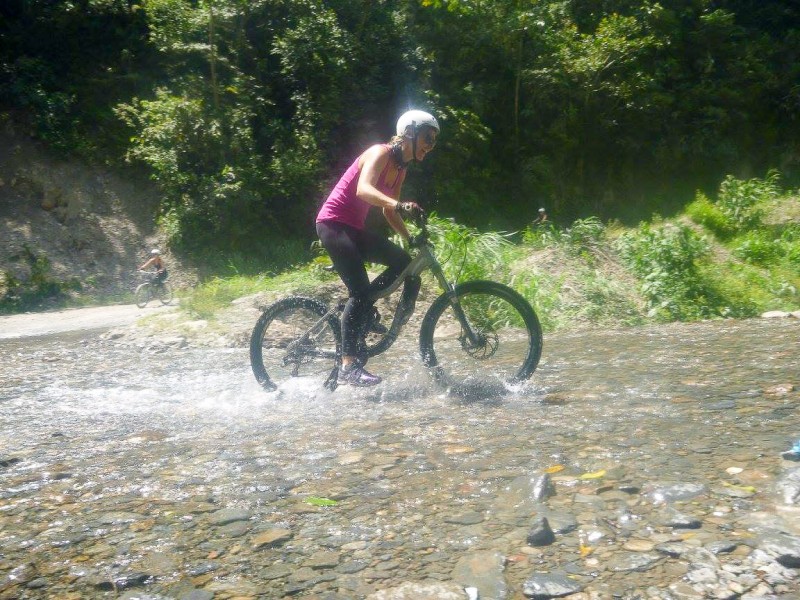
Most of the pot-holed, rock-filled road is no wider than 3m and the hazards include extreme drop-offs (don’t ever look down!), constant fog, tropical rain, the occasional waterfall, loose rocks and at times, limited visibility. This all sounds fairly scary, right? Right. It was but it wasn’t AS bad as it’s made out to be. Throughout the ride, we stopped every 5-8km to regroup, make sure the bikes were working and of course hang out on a casual cliff to refuel on snacks 😉
The further we went down, the more confident we both became, but without becoming too confident/cocky.
Over the 4.5 hours and 63km, we dropped an incredible 3600m and you definitely felt the air become easier to breathe.
At the bottom of the valley, our forearms ached and fingers throbbed from the grip of the breaks. I guess that’s what’ll happen when you barely let go of a break for 4.5 hours!
Tips for surviving the Death Ride
- Wear protective warm clothing especially when you begin the ride
- Don’t wear a heavy backpack, it can put you off balance around corners
- If you stop to take a photo, do so on the right side of the road
- Always pass on the right side and vocalize when you are doing so
- Leave a bus length between riders in front of you
- Your bike is your wife, husband, brother or best friend for the duration of the ride so do not worry about what anyone else is doing around you!
- Go at your own speed, it isn’t a race.
- They provide some snacks but bring some of your own as lunch is not until 4.30pm.
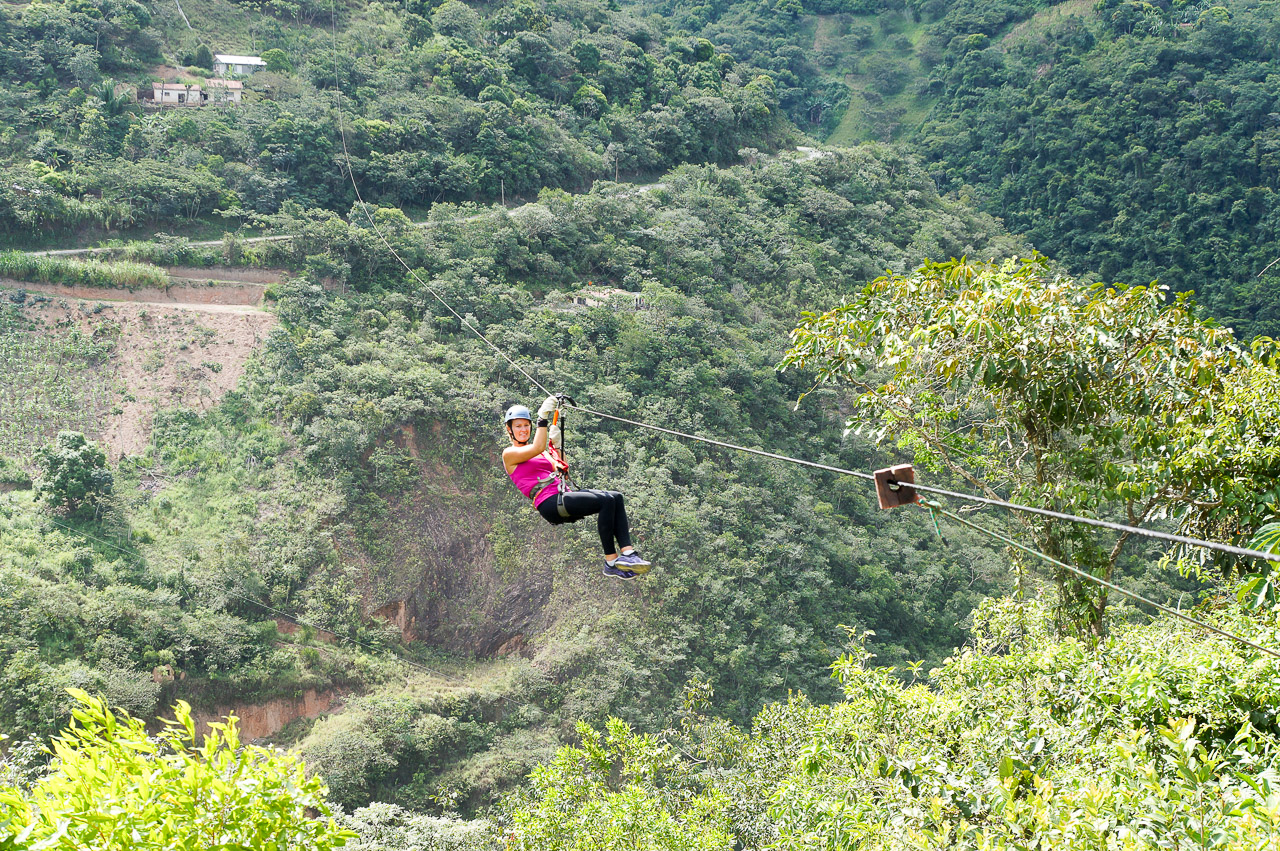
Zip Lining
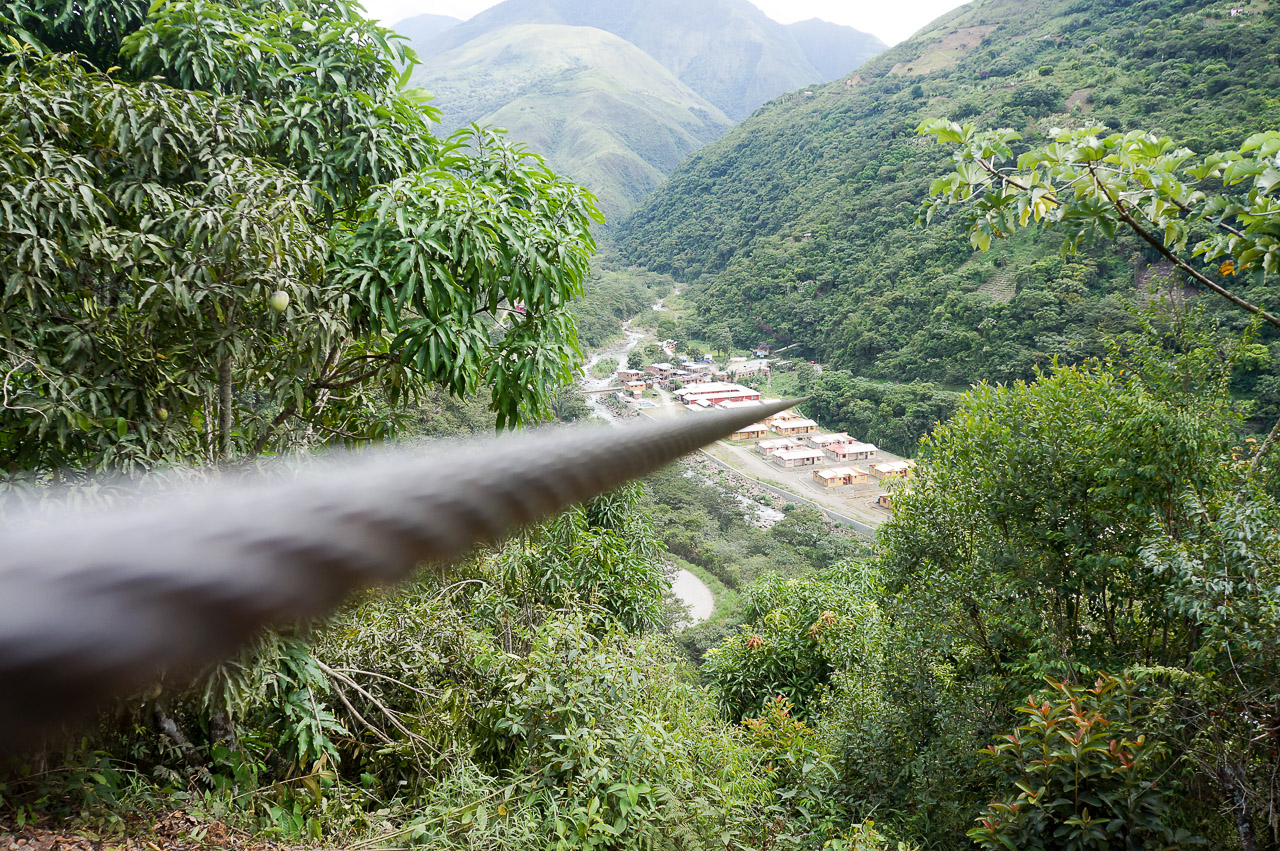
Once we reached the bottom, we had the option of zip lining 1.5 km over the valley with Zip the Fling Fox. We’d already had such an adventurous day, why not add to it? This activity can be added at the end of your ride for USD$30. There were 3 different zip lines; fastest, longest and lowest. You can go down these zip lines in 2 different ways; either superman style or old fashioned sitting. Both were different but superman was pretty sweet, especially on the fastest line, shown below.

I think we can safely say this was one of the most adventurous days we’ve had, we were exhausted by the end of it but very grateful to be all in one piece!
Married days SURVIVED for real: 303
Photos


Great post!! That zipline looks like a blast!!✨
Howdy very cool blog!! Man .. Beautiful .. Amazing .. I’ll bookmark your blog and take the feeds additionallyKI’m happy to seek out numerous useful information right here within the put up, we need work out more strategies on this regard, thanks for sharing. . . . . .
Very interesting information!Perfect just what I was looking for! “Time is money.” by Benjamin Franklin.