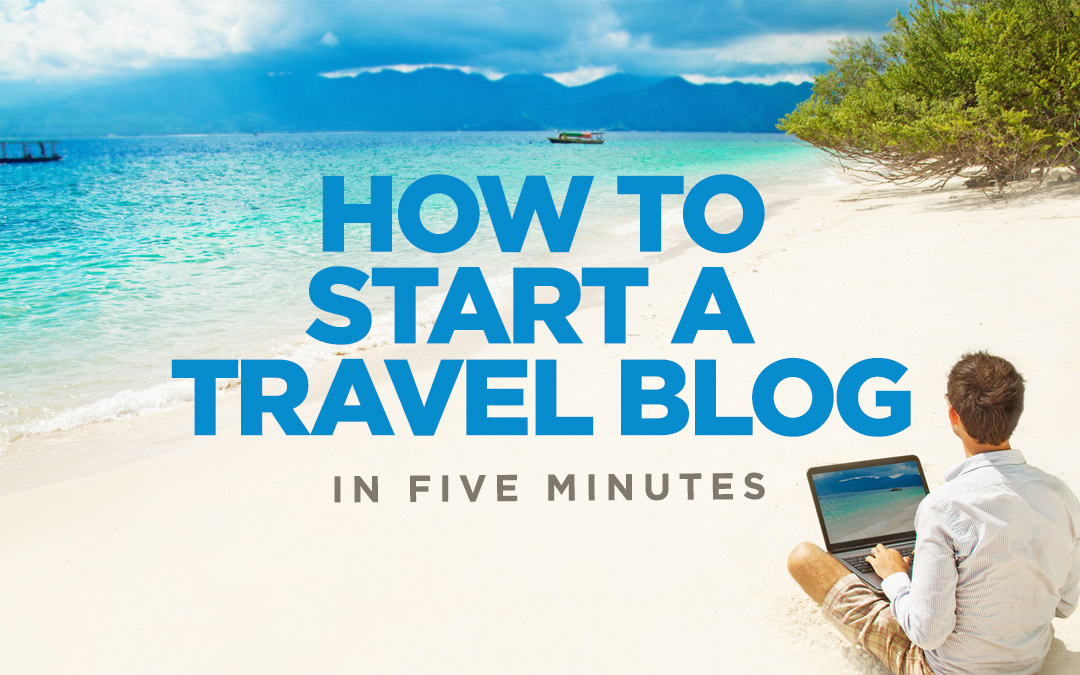
There are good ways to start a travel blog, and then there are better ways.
When it comes to starting your travel blog, what many people don’t understand is that getting off on the right foot is half the battle. If your site isn’t supported by the right tools and software, you might be setting it up for failure.
And as a web designer by trade, I generally recommend WordPress as the perfect platform to set up a blog or website, especially for small to mid sized businesses or blogs. It’s easy to set up, easy to manage and is very powerful.
I’ve been asked dozens of times so here’s my step-by-step walkthrough of how to set your own WordPress Travel Blog for success, along with a great deal.
It’s really simple to set up and will take less than 5 minutes, no joke!
Step 1: Select a Hosting Account
Hosting is a must-have. Why? You’ll need a large amount of digital space to store all the images, text, and other files that will make up the core of your website.
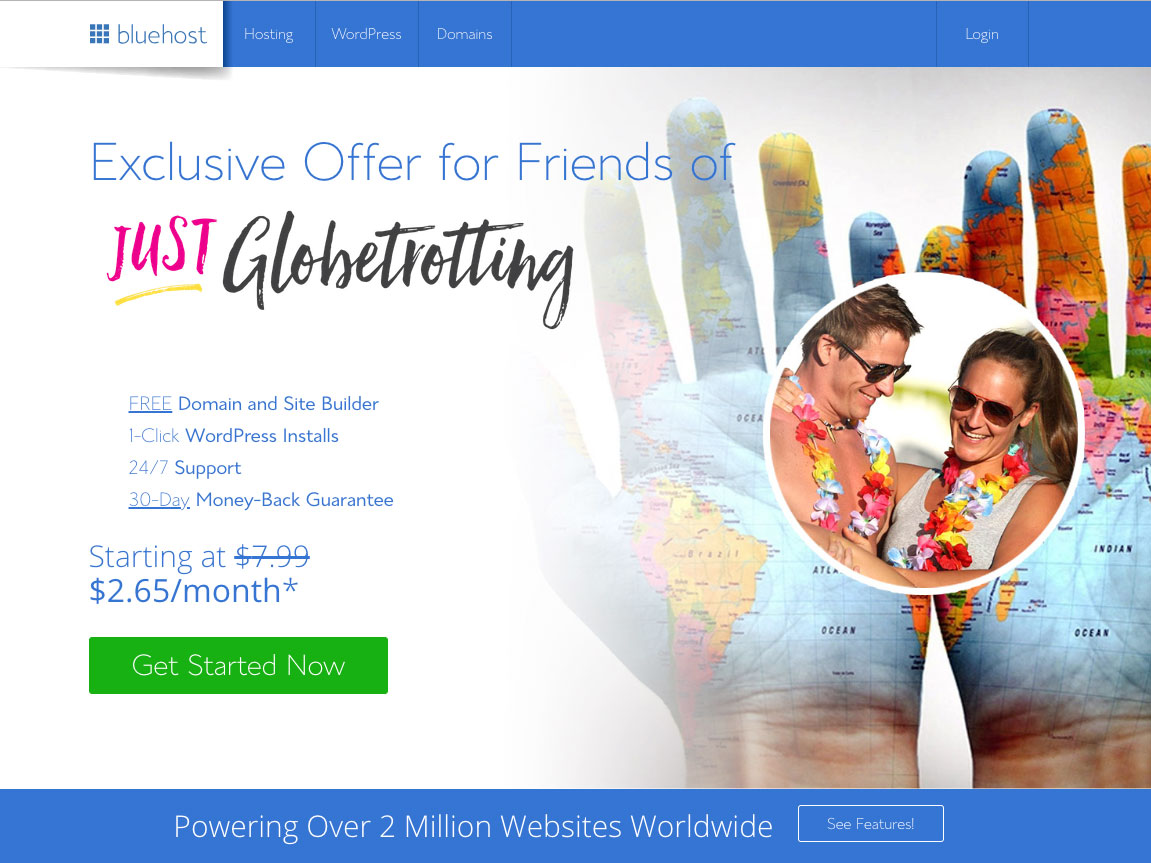
I recommend to my clients to host their website with BlueHost (as does WordPress themselves) as they give you a free domain with the purchase of an account, plus it’s the perfect price point for a blogs just starting out. Plus they have great support and performance.
To get your hosting set up, go to Bluehost.com and click the “get started now” button (see above). The next page will allow you to select from a few different packages. If you’re not sure which one you need, just select the cheapest plan – Basic. You can always upgrade to a bigger one later once your site needs more capacity.
*Special Partner Promo*
Just Globetrotting readers can get BlueHost’s most popular plan for just $3.95/month instead of $7.99.
» Click here to get your website & hosting set up
I recommend starting with the Basic Plan for those starting out. You can always upgrade as your travel blog grows.

Step 2: Choose Your Domain
This is the fun part. Choosing your domain comes hand-in-hand with choosing the name of your blog, brand, or business… so choose wisely!
If you already have a domain, see here on how to transfer the domain.

Type your selected domain into the “new domain” box and hit “next”. A notification will pop up if the domain is unavailable, so make sure to test it out before getting too attached to a URL.
After choosing your domain name, the next step is simply to fill out your account, package, and billing information.
I recommend the 36 month basic plan to maximize your savings.
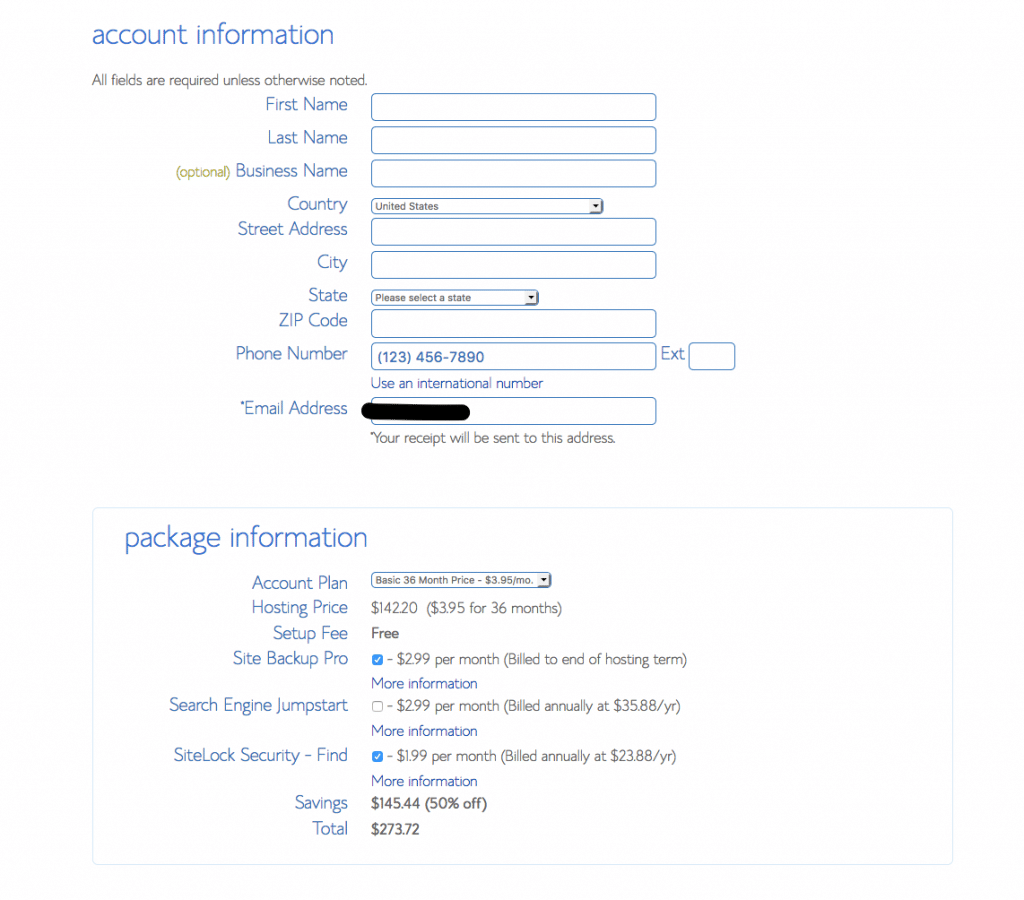
Pay special attention to the package section as this is where you’ll choose the length of time you want to pay for.
After you’ve filled in your billing information, hit “next”. You’re already almost there!

Step 3: Install WordPress
Last piece of the puzzle? Installing WordPress & picking a theme. I don’t take WordPress lightly – it can significantly improve your online experience and I manage all my websites with it.
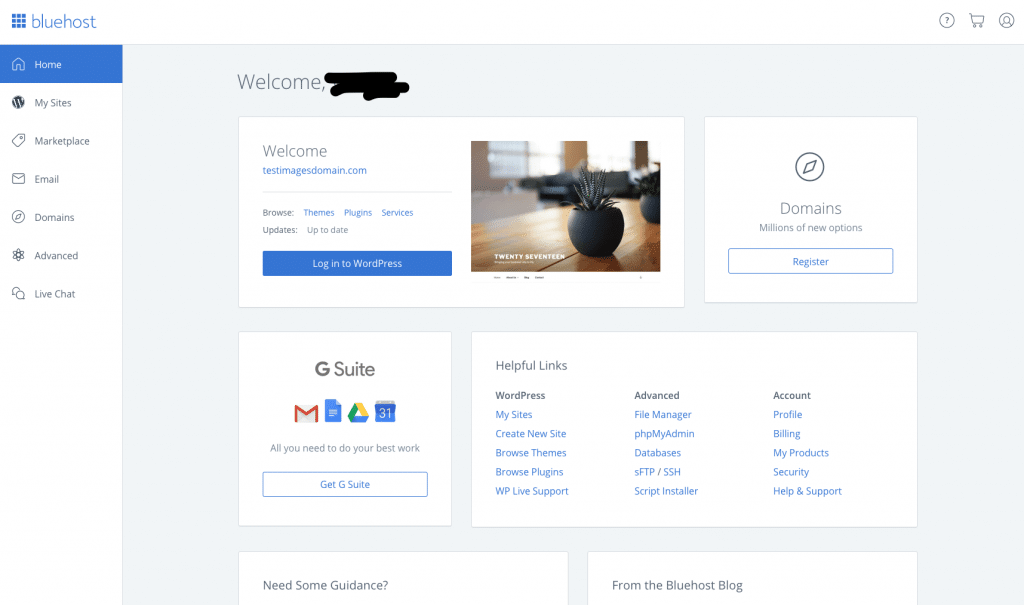
After you’ve logged in to your new Bluehost account, go to your dashboard and find the “Install WordPress” button or if already installed, pick a suitable theme.

This will take you to MOJO Marketplace where you can click “Start” to begin the download process.
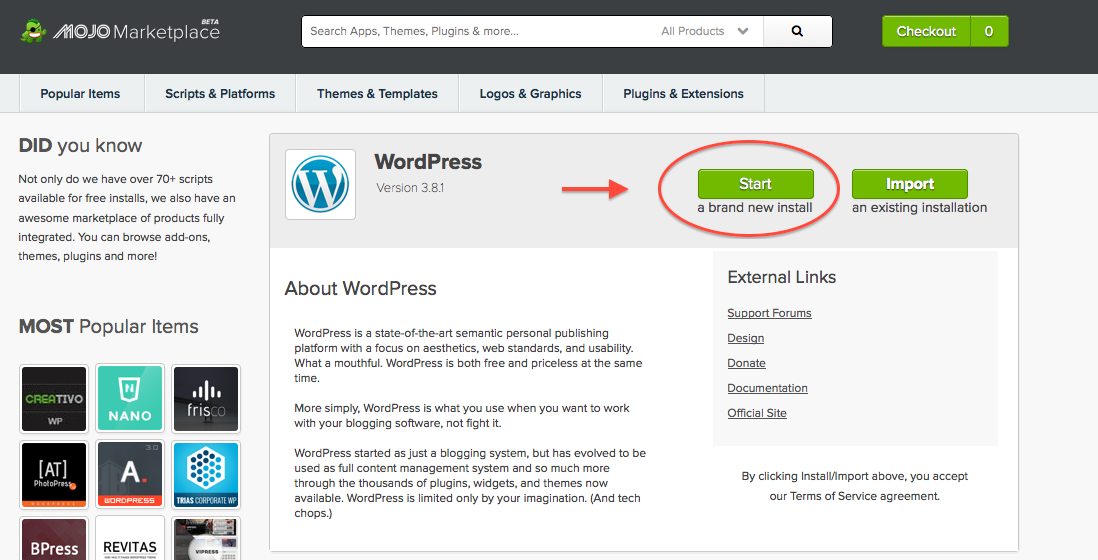
Now you’ll simply need to select the domain you are installing WordPress on and hit “Check Domain”.

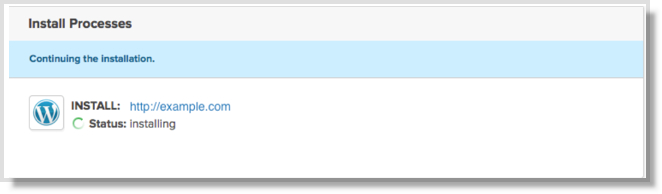
Last of all, enter in the name of your blog, your preferred username, a secure password, and your email address. Click “Install Now”.

Now the installation is ready to go!
Step 4: Install Themes & Plugins
Easy, right? Your new site is up and running. Your next step is to choose a theme. I recommend MOJOThemes. Browse and download a theme there, then install the theme (instructions will be inside the theme). After installing, add the appropriate plugins for your site. See my post on the Top Essential WordPress Plugin and you’re golden.

Your site is now ready to be infested with good, quality content!
And then of course, of you need to promote your travel blog, and bring in the bacon!
Please note some of the above are affiliate links, meaning we get a small cut for recommending a product, at no extra cost to you.


Great post. Thanks.
This was so helpful. Thanks for going right into the fine details of setting up a website and providing relevant examples. A lot of the information online doesn’t cover every step and leaves you needing to figure it out yourself. Will definitely share this.
Thank you so much for helping the guide on how I can starting blogging for travel-related anything with the help of your proper guidance.
Some truly wonderful content on this website, thanks for contribution. “He that falls in love with himself will have no rivals.” by Benjamin Franklin.
revision of an essay https://essaywriteren.com – example synthesis essay
dare essays examples common apps essay essay about pollution
autism essays https://essaywritersedu.com/ – spanish essay writer
cover sheet essay pay for my essay introduction for essay example
I’ve been surfing online more than 2 hours today, yet I never found any interesting article like yours.
It’s pretty worth enough for me. Personally, iif all web owners and bloggers made good content as you did,
the internet will be a lot more useful than ever before.
Here is my blog: Benefits of Cloud Computing for Your Business (https://www.realcode.co.uk/)
comparing and contrasting essay format do my essay cheap lord of the flies essays
scholarship contest essay https://essaywriteren.com/ – rush my essay
Dead indited written content, Really enjoyed looking at.
Antibiotics Online Purchase – https://amsat-kovert.com/one.html and get discount for all purchased!
obviously like your web-site however you have to take a look at the spelling on quite a few of your posts. Many of them are rife with spelling problems and I find it very troublesome to tell the truth however I’ll certainly come again again.